

How To Measure for a Custom Shower Enclosure
Unlike the standard options you’ll find at your average home improvement store, tailoring a shower enclosure allows you to maximize your bathroom’s layout while reflecting your personal taste. Maybe you’re interested in a modern, frameless design, or perhaps you’re in need of a practical solution for a smaller space.
The good news? Bespoke options offer endless possibilities. To find the perfect fit and set the stage for a seamless installation, this guide will tell you how to measure for a custom shower enclosure.
Tools You’ll Need
Before you start measuring, make sure you have all the tools to get the numbers right the first time and avoid having to go back and forth to the store. Below is a list of tools you’ll need, along with explanations of how each one helps.
Measuring Tools
Tape measure: A sturdy tape measure is your best friend when it comes to getting precise dimensions. Opt for one that’s retractable, as it’s easier to handle while working.
Level: A level helps you determine whether your walls, floor, and base are even. Uneven surfaces can impact the fit of your shower enclosure, so it’s crucial to identify problem areas early in the process.
Carpenter’s square: This tool is essential for checking whether the corners of your walls are at a perfect 90-degree angle. Misaligned angles might require additional adjustments or customizations.
Accessories
Notepad and pen: Keep these handy to jot down your measurements, notes, and observations. Clear records will reduce mistakes when finalizing your order.
Masking tape: Use masking tape to mark key reference points on the walls and floor. These marks can be especially helpful when visualizing the enclosure layout.
Laser level (Optional): For enhanced precision, a laser level can project straight lines onto surfaces, making it easier to verify alignment across larger areas.
Initial Preparation
Assess the Shower Area
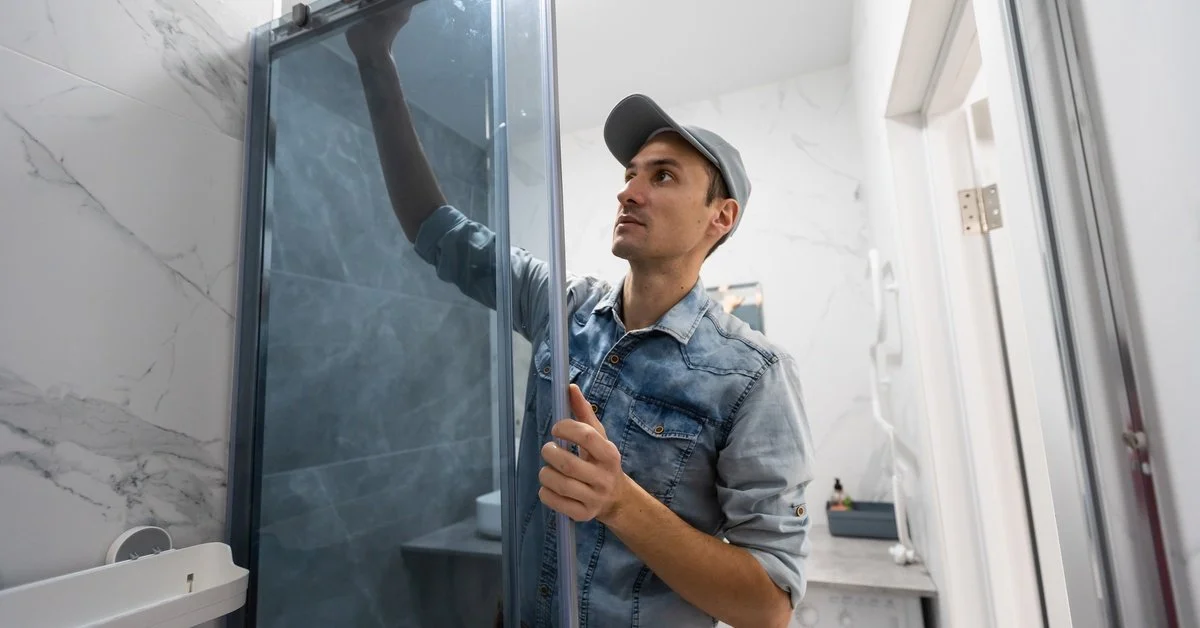
Take a close look at your shower area, considering the key features you want for your enclosure. Ask yourself important questions. For instance, do you prefer a sleek, frameless design for a modern touch? Would a framed option provide the durability and aesthetic you’re looking for instead?
Think about the type of door that suits your space best, whether it’s a pivot door for a clean, functional look or a sliding door to save space in tight areas. Also, decide on the overall shape and configuration that will work best, such as a corner enclosure, rectangular design, or even a unique neo-angle layout for a bold style statement.
Confirm the Wall Condition
To get precise measurements, you must check the condition of your shower walls. If areas of the wall have uneven tiles or surfaces, address these problems before measuring. This step is vital, as irregularities in the walls could affect how your enclosure fits and functions once installed.
Identify the Starting Point
Deciding where to measure from is another important step. Depending on your design, you might measure from the floor, the curb, or the base of the shower. For example, frameless enclosures often require highly accurate dimensions from the base, while framed options might be more accommodating to slight variations. Choose a starting point that aligns with your choice of enclosure style for the best possible fit for your custom installation.
Step-by-Step Measuring Instructions
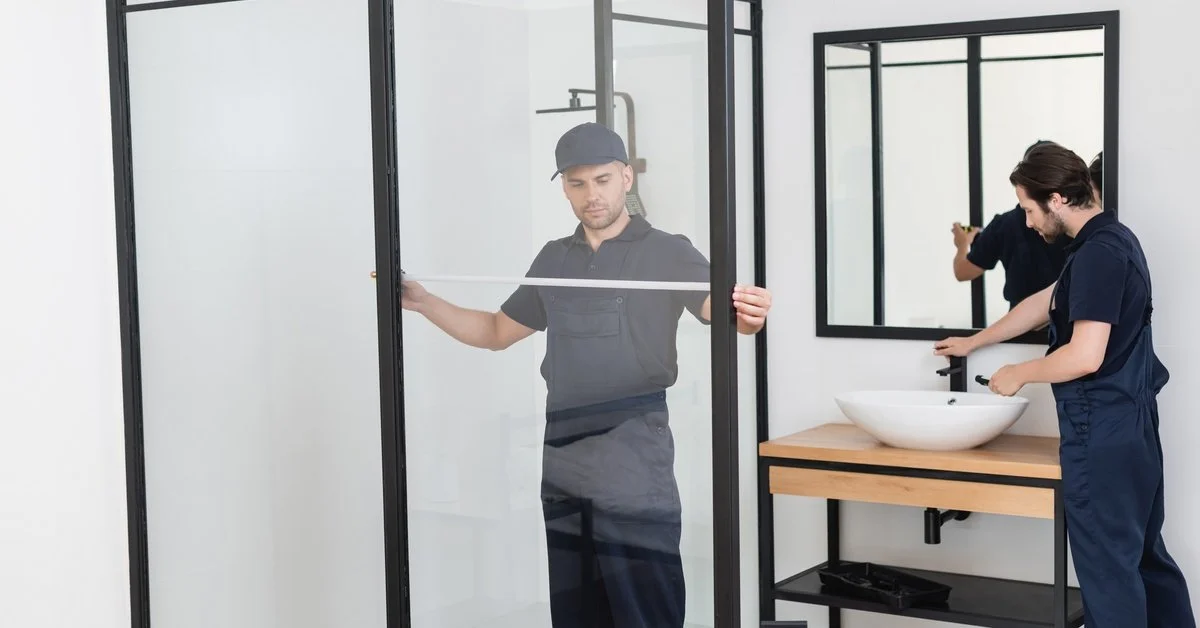
Measure the Width
First, measure the width of the shower opening at three different points: the top, middle, and bottom. Walls may not always be perfectly straight, so taking multiple measurements will ensure accuracy. Use a level to verify if the walls are plumb (vertically straight). Record the largest of these measurements, as it will guide your enclosure selection for a proper fit.
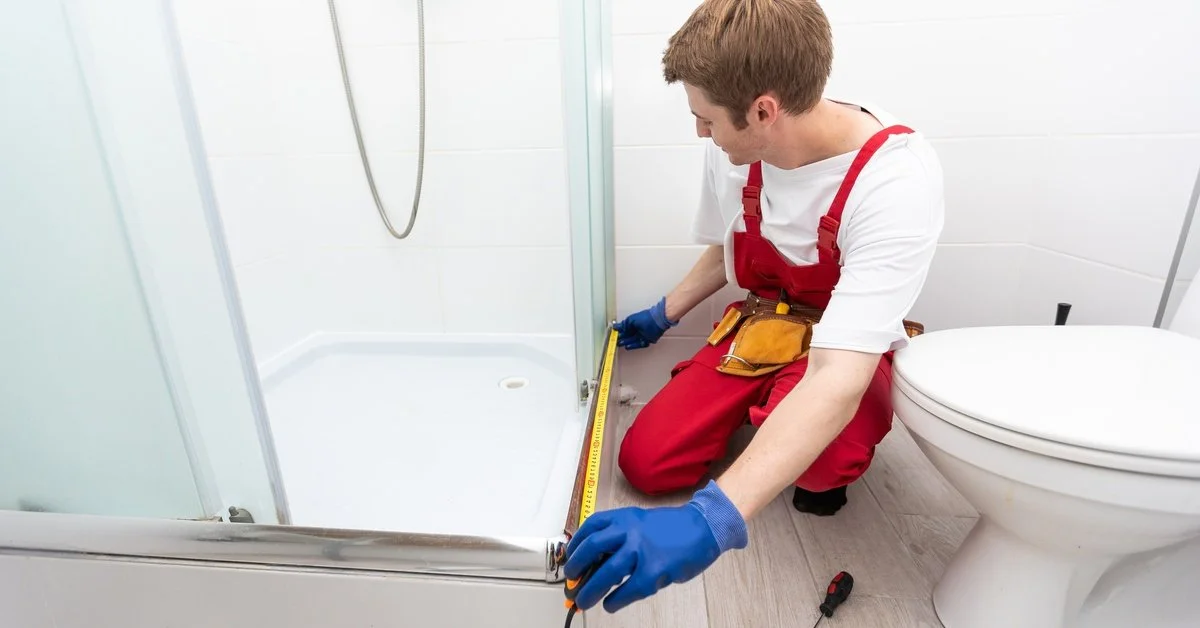
Measure the Height
Next, measure the height of the shower opening. Take this measurement from the base of the shower (or curb) to the top where the enclosure will end. Measure the left and right sides, as one side might be slightly taller than the other due to uneven surfaces. Go with the smaller measurement so the enclosure fits without gaps.
Measure the Angles
Use an angle finder or protractor to measure where the walls meet the base of the shower. This measurement will identify any variations or slopes that could impact the enclosure’s fit. If the angles are not exactly 90 degrees, you’ll need to account for this when selecting or designing your shower enclosure.
Account for Door Clearance
Consider the space required for the door to open and close smoothly without hitting nearby fixtures or walls. If you’re installing a sliding door, the track length must be adequate for proper function.
For hinged doors, measure the swing radius to confirm it won’t interfere with other elements in the bathroom, like vanities or toilets. This step helps prevent usability issues so your finished shower space is sleek and functional.
Tips for Accuracy
Double-Check Measurements
The key to measuring for a custom shower enclosure is precision, so always double-check your measurements. Small discrepancies can lead to mismatched components or installation issues, so it’s worth spending the extra time to verify your results. If possible, have another person assist in measuring to cross-check accuracy.
Measure at Eye Level
When measuring, make sure you position yourself at eye level with the points you’re marking. Looking from an angle can distort your perception, resulting in inaccurate readings. By aligning your eyes with the measurement, you minimize errors caused by parallax so your dimensions are spot-on.
Use Metric and Imperial Units
Depending on your manufacturer or installer’s requirements, you may need to provide measurements in both metric (centimeters, millimeters) and imperial (inches, feet) units.
Converting your numbers ahead of time reduces the likelihood of miscommunication and gets everyone on the same page. A dual-purpose measuring tape or a reliable digital converter can make this process seamless.
Document Clearly
Accurate documentation is just as important as accurate measurements. Make notes of each measurement, clearly labeling them based on their location and purpose. For instance, specify whether the dimension refers to the bottom width, middle height, or top edge. Keeping organized records helps prevent confusion as the project progresses and allows installers to work efficiently.
At August Glass, we specialize in transforming your ideas into reality with our expertly crafted custom shower enclosures. Every custom shower enclosure begins with precision. Our team schedules an in-home consultation to professionally measure your space, ensuring a perfect fit and flawless installation. From initial concept to final walkthrough, we guide you through a smooth and stress-free process—so you can feel confident knowing your new shower will be both beautiful and built to last.
.