

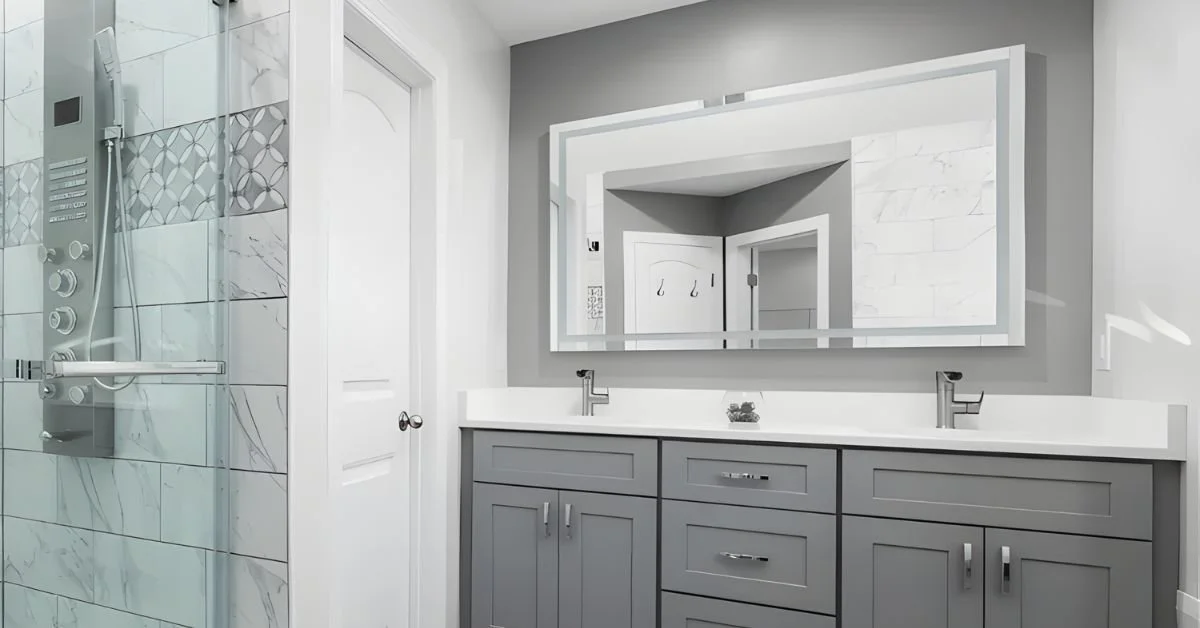
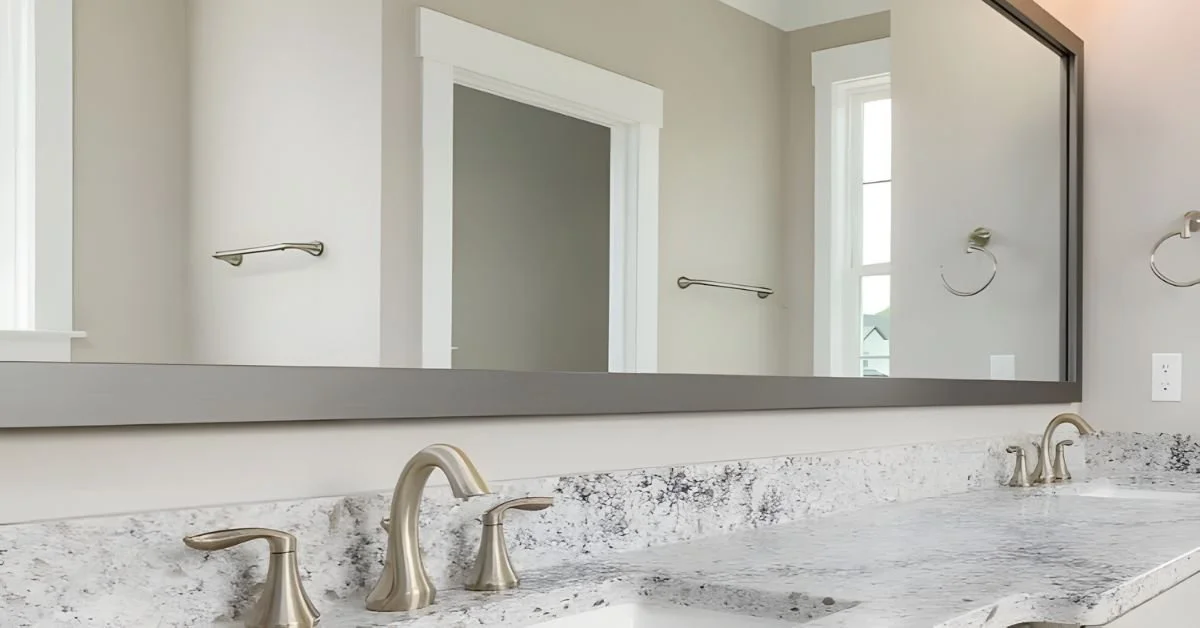
How To Clean Your Mirrors so They Are Crystal Clear
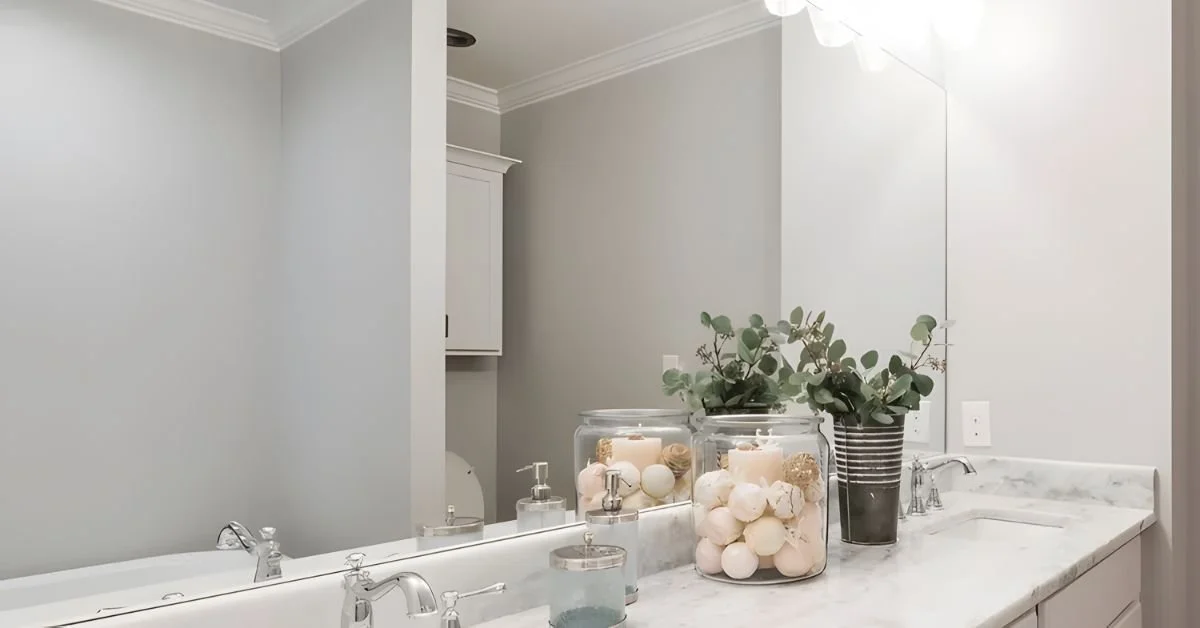
Fingerprints, dust, and water spots accumulate easily. A smudged or streaky mirror detracts from a room’s appearance. Instead of a bright, reflective surface, the mirrors in your house look disorderly and dull.
There’s no need to fight with the streaks left by paper towels or ineffective cleaners. If you weren’t aware of the proper way to clean mirrors, now’s the time to learn about how to make these surfaces look crystal clear.
Gather Your Supplies for a Streak-Free Shine
Perhaps, this whole time, you’ve been cleaning mirrors the wrong way and had no clue! Here are the items you’ll need to achieve a perfectly clean mirror.
Cleaning Solution
First, you will need a high-quality cleaning solution. While many commercial glass cleaners are available, a simple homemade solution of equal parts distilled water and white vinegar works exceptionally well. The acidity in the vinegar is effective at cutting through grime and residue without leaving streaks behind. Using distilled water is important because it is free of the minerals found in tap water that cause spots.
Cloths
Next, grab some microfiber cloths. The fine fibers are excellent at trapping dust and absorbing liquid without leaving lint behind.
You will need at least two; use one for applying the cleaning solution and scrubbing away dirt, and use the other for drying and buffing the surface to a brilliant shine. Avoid using paper towels or old cotton rags, as these materials tend to shed fibers and create more mess than they clean.
Rubbing Alcohol
For mirrors with stubborn spots, like hairspray or toothpaste, it’s good to have some rubbing alcohol on hand. Apply a small amount of rubbing alcohol on a cotton pad as a pretreatment. Apply it directly to the spot and gently rub until it dissolves before cleaning the entire surface.
Squeegee
Finally, a small squeegee is a great tool for larger mirrors. It helps remove the cleaning solution quickly and evenly, reducing the chance of streaks.
Prepare the Mirror
A common mistake is spraying cleaning solution directly onto a dusty mirror. This combines the dust with the liquid, creating a muddy residue that spreads across the glass and is difficult to remove. To avoid this, always start by dusting the mirror’s surface and frame.
Use a dry, clean microfiber cloth to gently wipe down the entire mirror, starting from the top and working your way down. This initial pass removes loose dust, hair, and other particles, allowing your cleaning solution to work directly on smudges and fingerprints. Pay special attention to the corners and edges of the frame where dust likes to collect. If the frame is ornate or has intricate details, a soft-bristled brush will help dislodge trapped dirt.
Once the surface is free of dust, inspect it for any stubborn spots. As mentioned, things like hairspray, toothpaste, or makeup splatters require extra attention. Dab a small amount of rubbing alcohol onto a cotton ball or the corner of a microfiber cloth. Gently work on these spots. The alcohol will break down the residue without damaging the mirror’s surface. This targeted pretreatment saves you from excessive scrubbing later on.
The Best Technique for Cleaning Mirrors
With the mirror prepared, it is time to apply your cleaning solution and wipe it clean. The technique you use is just as important as the products. A methodical approach prevents streaks and guarantees an even, clear finish across the entire surface.
Lightly spray your cleaning solution onto a clean microfiber cloth rather than directly onto the mirror. Spraying the glass directly can cause the liquid to drip down and pool at the bottom edge, potentially seeping behind the frame and damaging the mirror’s backing over time. This is especially important for preserving antique or custom glass mirrors.
Start at the top left corner of the mirror and wipe in a “Z” pattern across to the right, then move down and repeat the pattern from right to left. This systematic motion helps you cover the entire surface without missing any spots or contaminating areas you have already cleaned. Apply gentle, even pressure to lift away smudges and grime.
Achieve the Perfect Polish
The final step is perhaps the most important for a truly streak-free result: drying and buffing the mirror. Any moisture left on the glass will evaporate and leave behind streaks or water spots, undoing all your hard work. This is why a second, completely dry microfiber cloth is essential.
Immediately after wiping the mirror with the cleaning solution, take your dry cloth and follow the same “Z” pattern to dry the surface. The goal is to remove all moisture before it has a chance to air-dry.
If you are using a squeegee, start at the top corner and pull it down in a single, smooth stroke, overlapping each pass by about an inch. Wipe the squeegee blade with a cloth after each pass to prevent dirty water from being spread back onto the glass.
After the mirror is dry, step back and examine it from different angles. Different lighting conditions will reveal any remaining streaks or smudges. If you spot any, use a clean, dry section of your buffing cloth to gently buff them away with small, circular motions. This final touch will leave your mirror looking flawless and crystal clear.
Elevate Your Space With Flawless Mirrors
You want to make sure that every reflective surface in your home looks its best. A beautifully maintained mirror enhances the style and brightness of any room. This simple cleaning routine transforms a common household chore into a quick and rewarding task.
Unfortunately, there might come a time when the mirrors in your home don’t look as sparkling as they used to. If you followed the steps for cleaning your mirrors and they don’t look crystal clear, it’s time for a change.
August Glass specializes in crafting bespoke mirror solutions tailored to each client’s vision. We assist with everything from the design process to the installation. Let us help you transform your space with the elegance and quality your home deserves.